
Upgrade Installation
We install premium trailer brake and suspension upgrades anywhere you need us—rally, campsite, or roadside.
*Due to the weight of motorhomes we are unable to safely provide services in a field setting.
RV Upgrade Installation – Safer, Smoother, Better Performance
Your trailer deserves the best in safety, handling, and comfort. At Ramblin’ Man, we specialize in professional brake and suspension upgrades that transform your driving experience. From disc brake conversions to advanced suspension systems, we bring certified expertise and trusted parts right to you.

Expert Team
skilled, experienced, and passionate team dedicated to delivering outstanding results.
Customized Solutions
Every project is tailored to meet your unique goals and requirements.
Proven Results
We have a strong track record of boosting performance and driving growth.

Reliable Support
We’re here for you from start to finish, ensuring smooth communication and execution.
How it Works
Consult & Prepare: We’ll collect your trailer information and help you choose the right products for your travel goals. Product payment is collected during this stage.
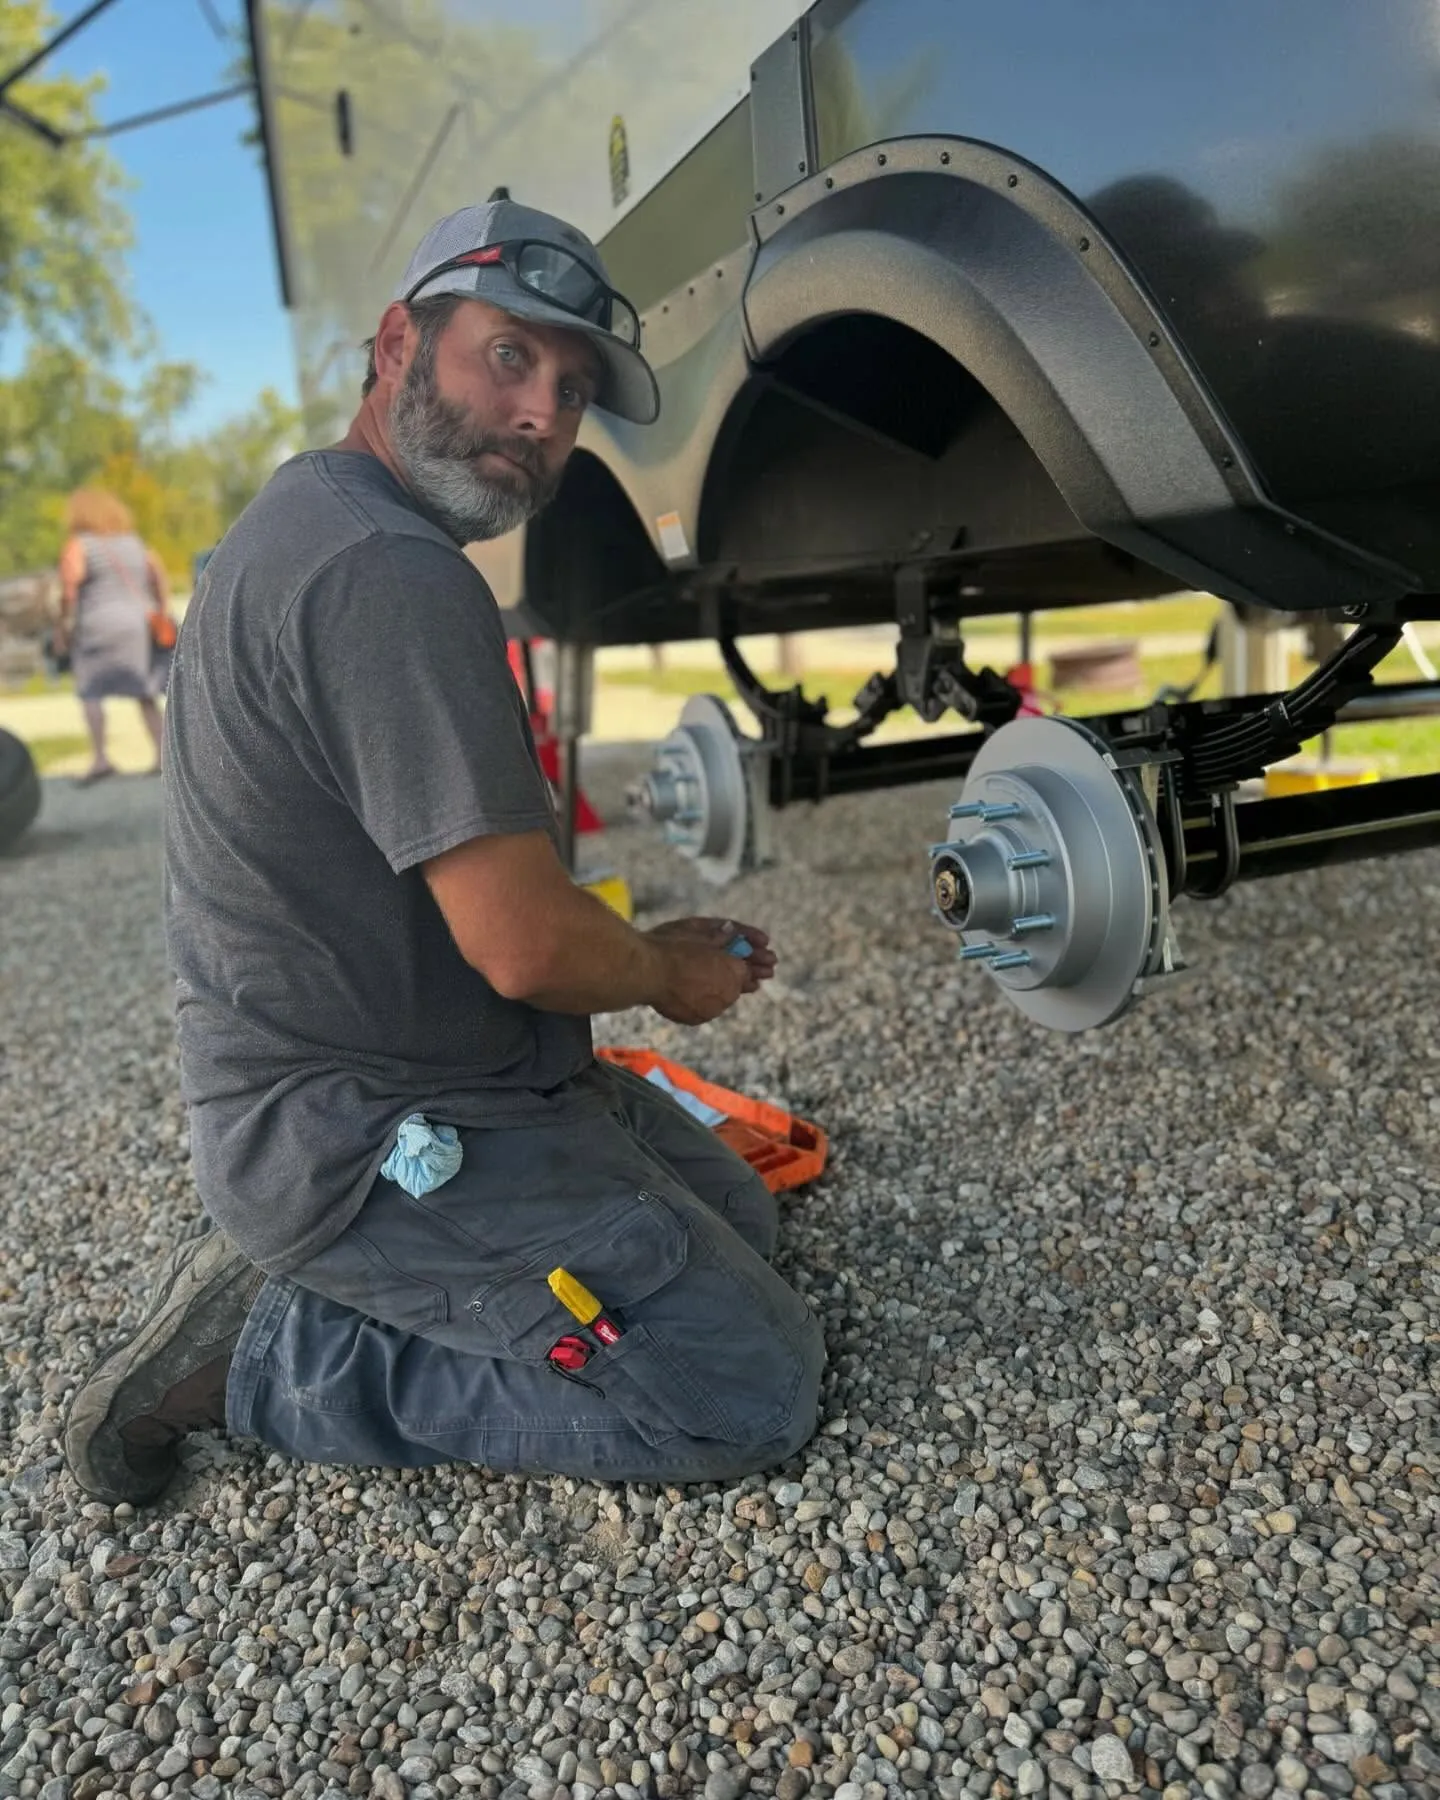
Service & Installation: You’ll meet directly with your technician for your scheduled upgrades or services and pay them directly for their work.
Post-Service Check: After 50 miles of travel, be sure to retorque your lug nuts to ensure everything stays safe and secure.
Collect Trailer Information
Getting ready to upgrade your RV suspension or components? To make sure we send the right parts, we’ll need some key information and photos from you. Here’s a step-by-step guide.
Please provide your RV’s details:
- Make / Model / Year
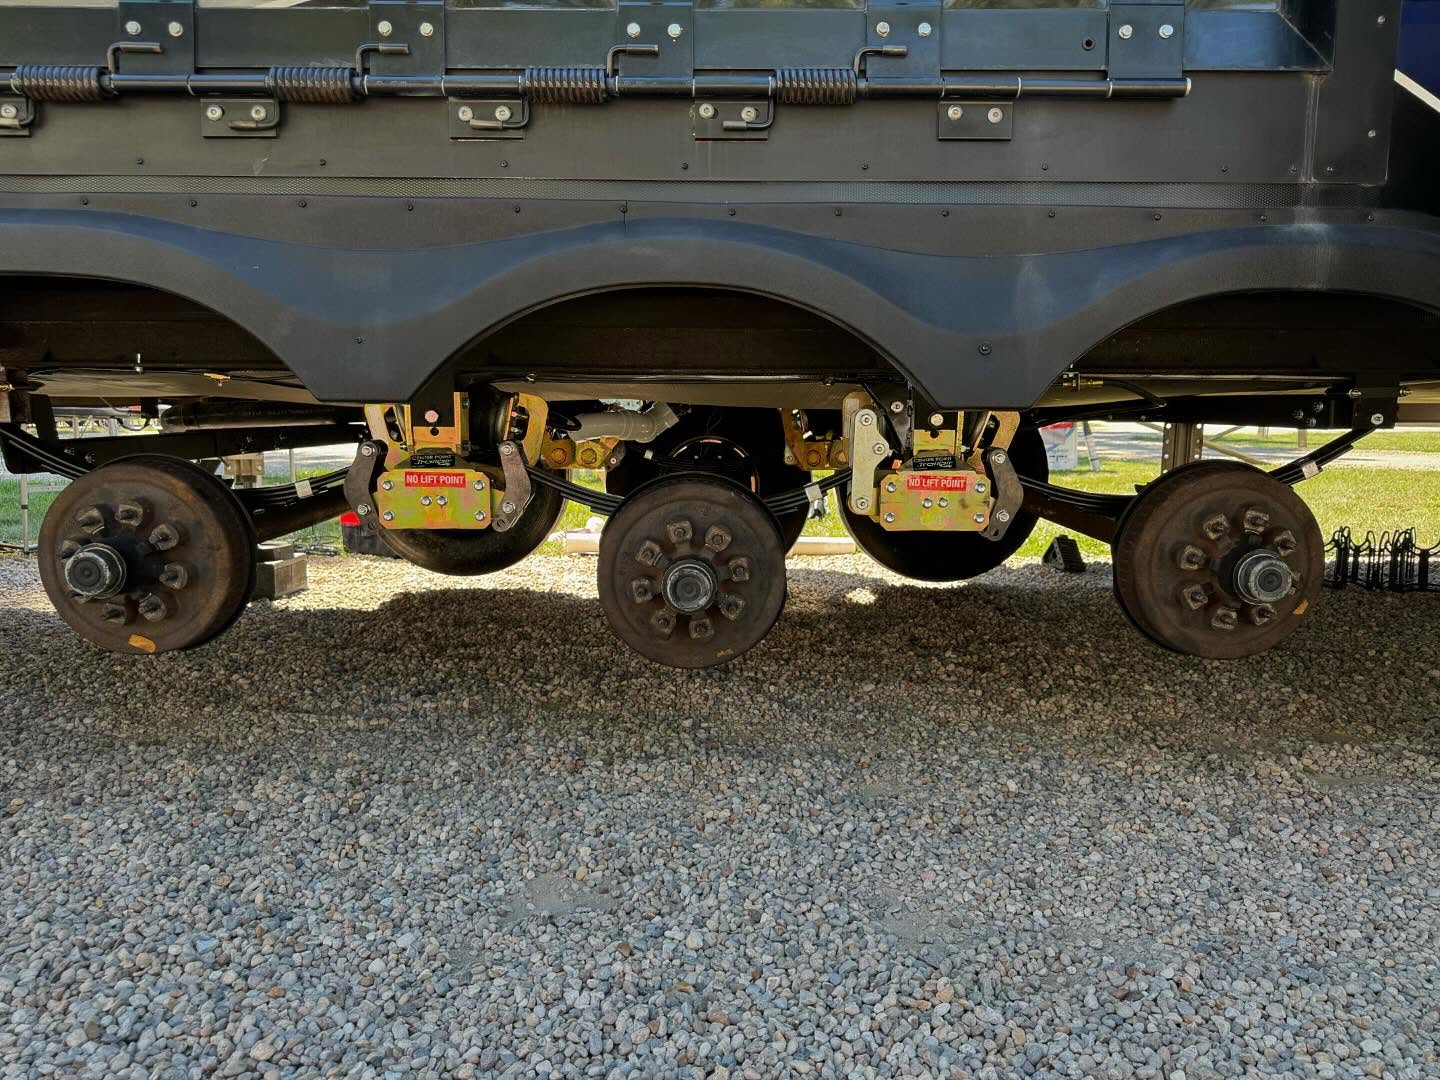
- Axle Type– Tandem (4 wheels) or Triple (6 wheels)
- Lug Nuts– Count how many on each wheel (e.g. 5, 6, or 8)
To help us confirm compatibility, please upload:
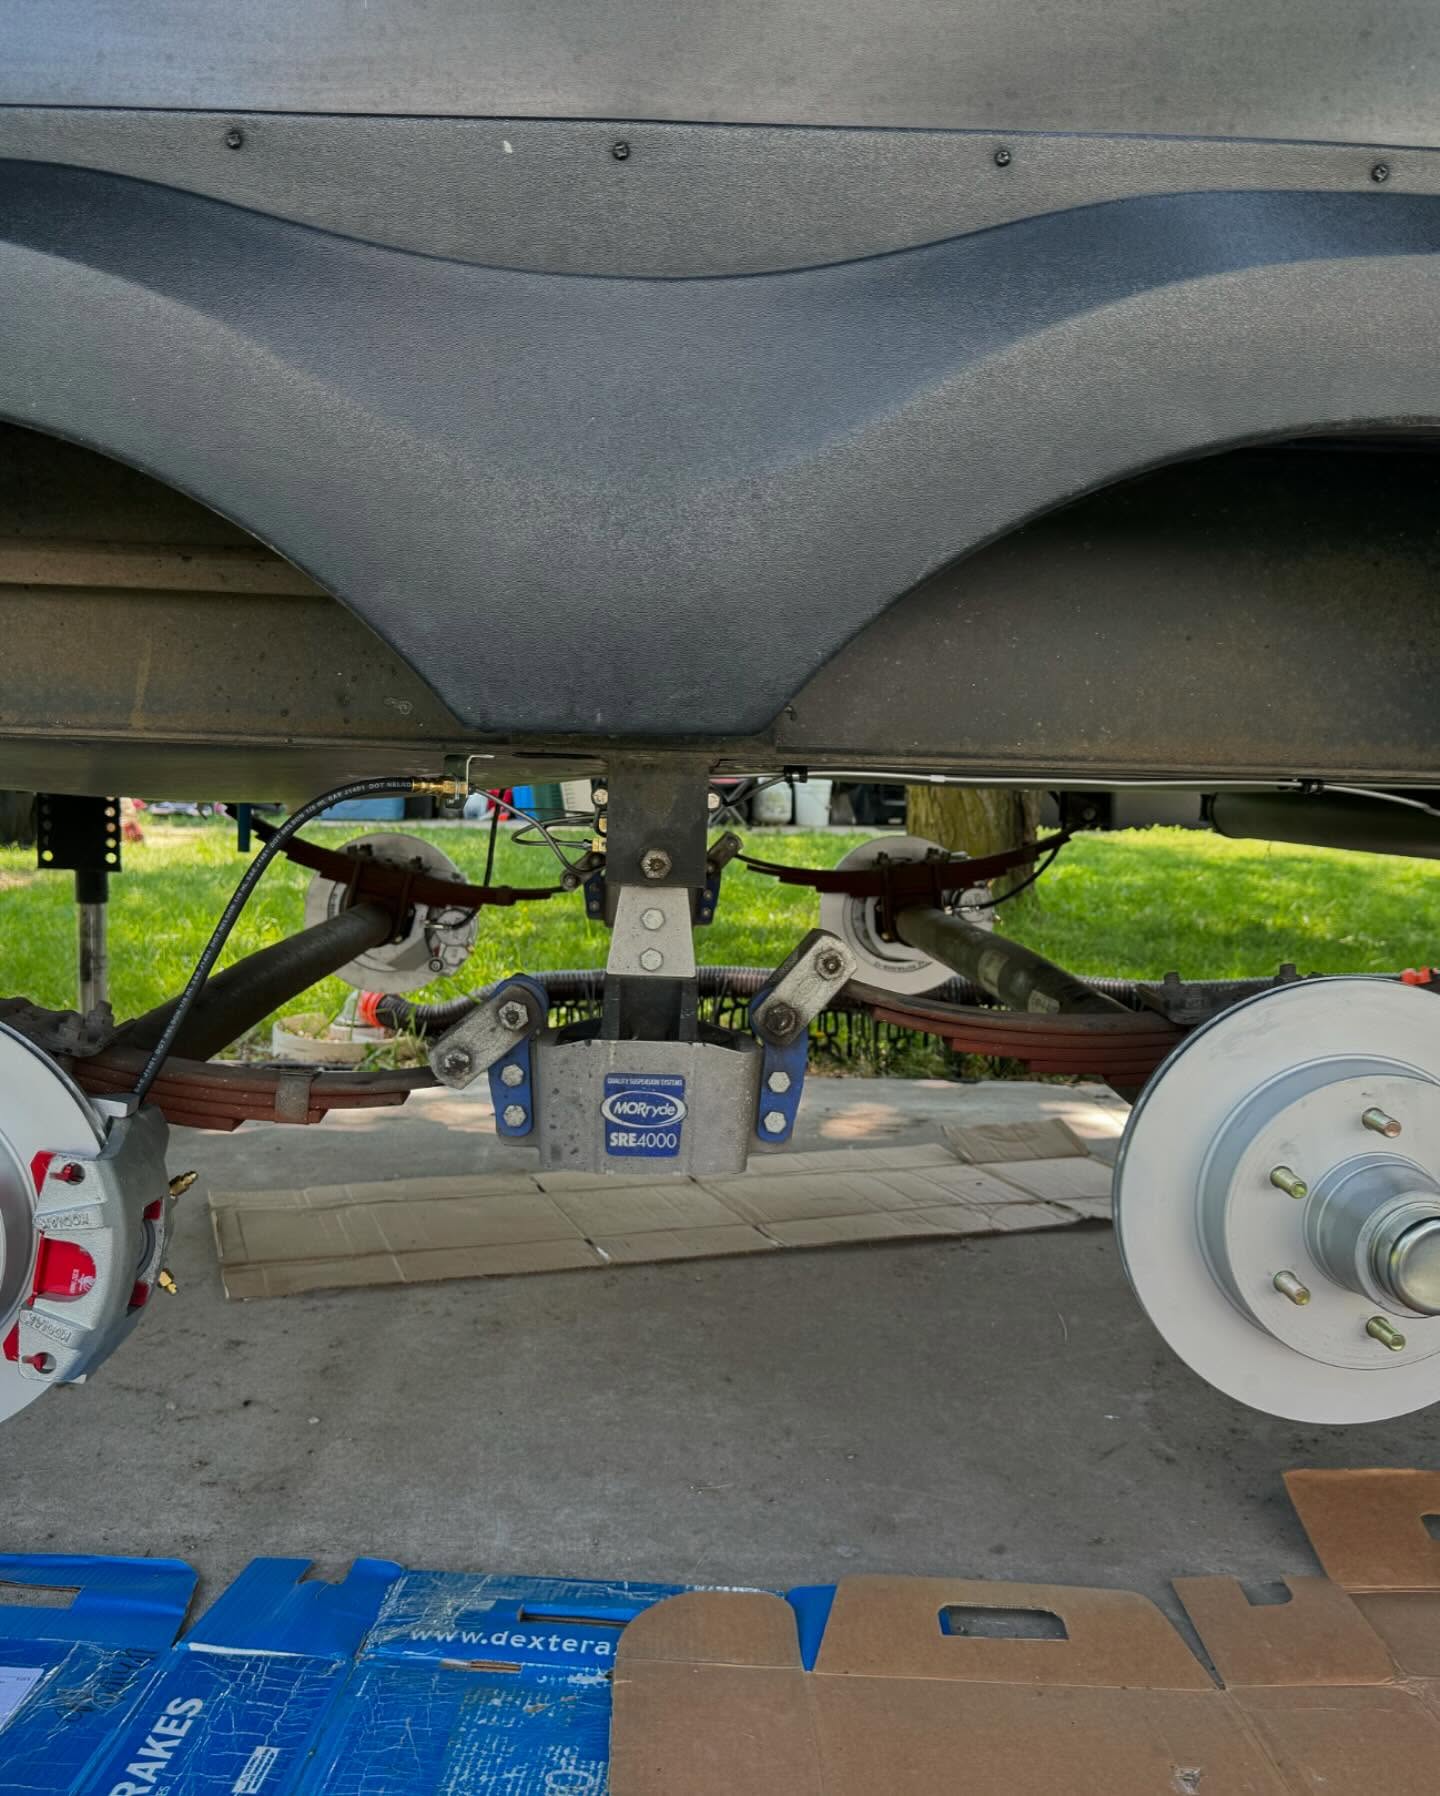
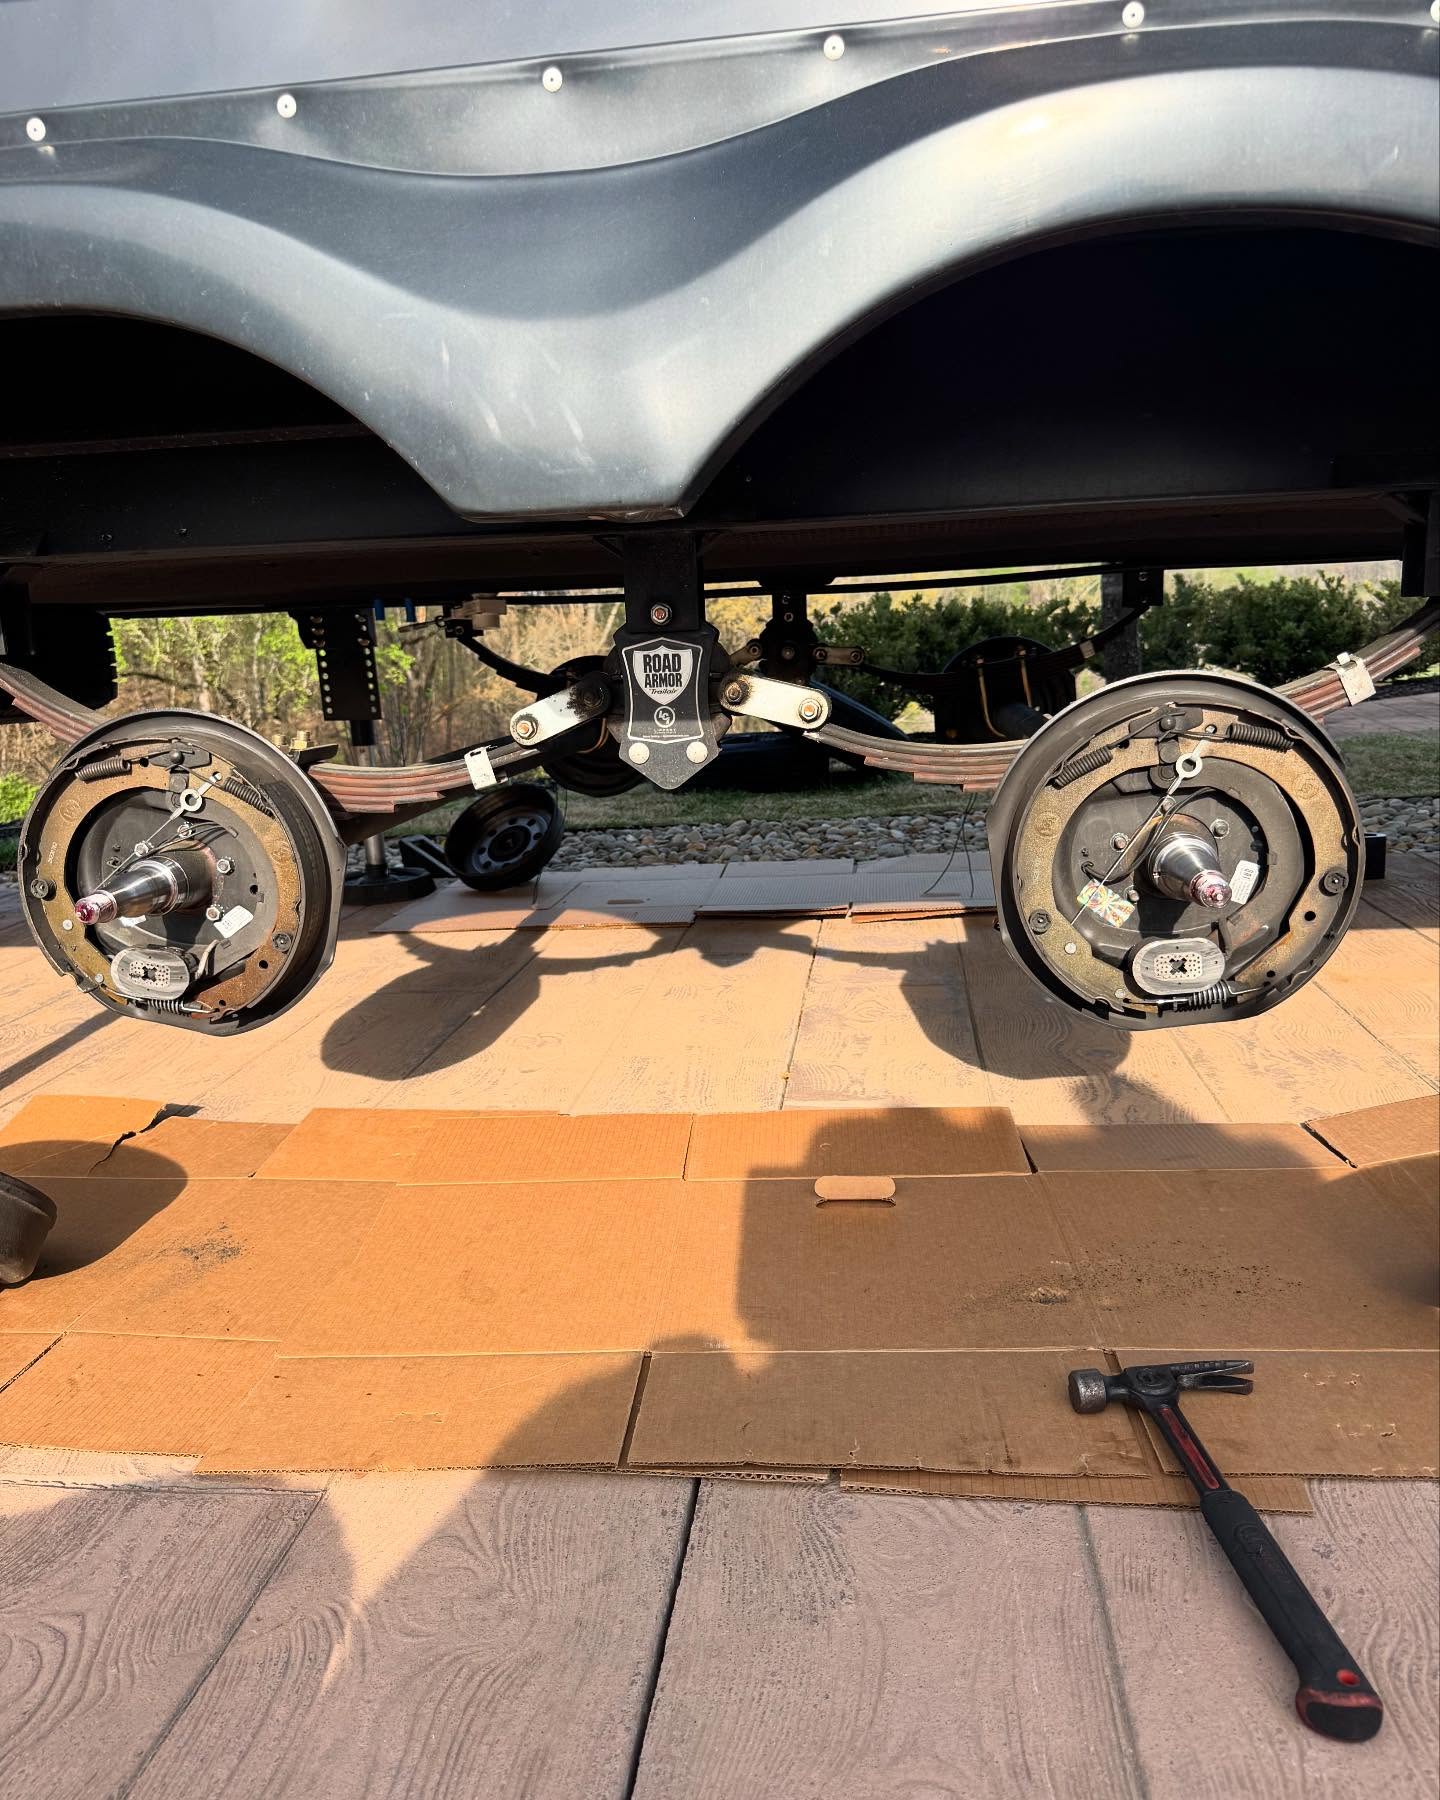
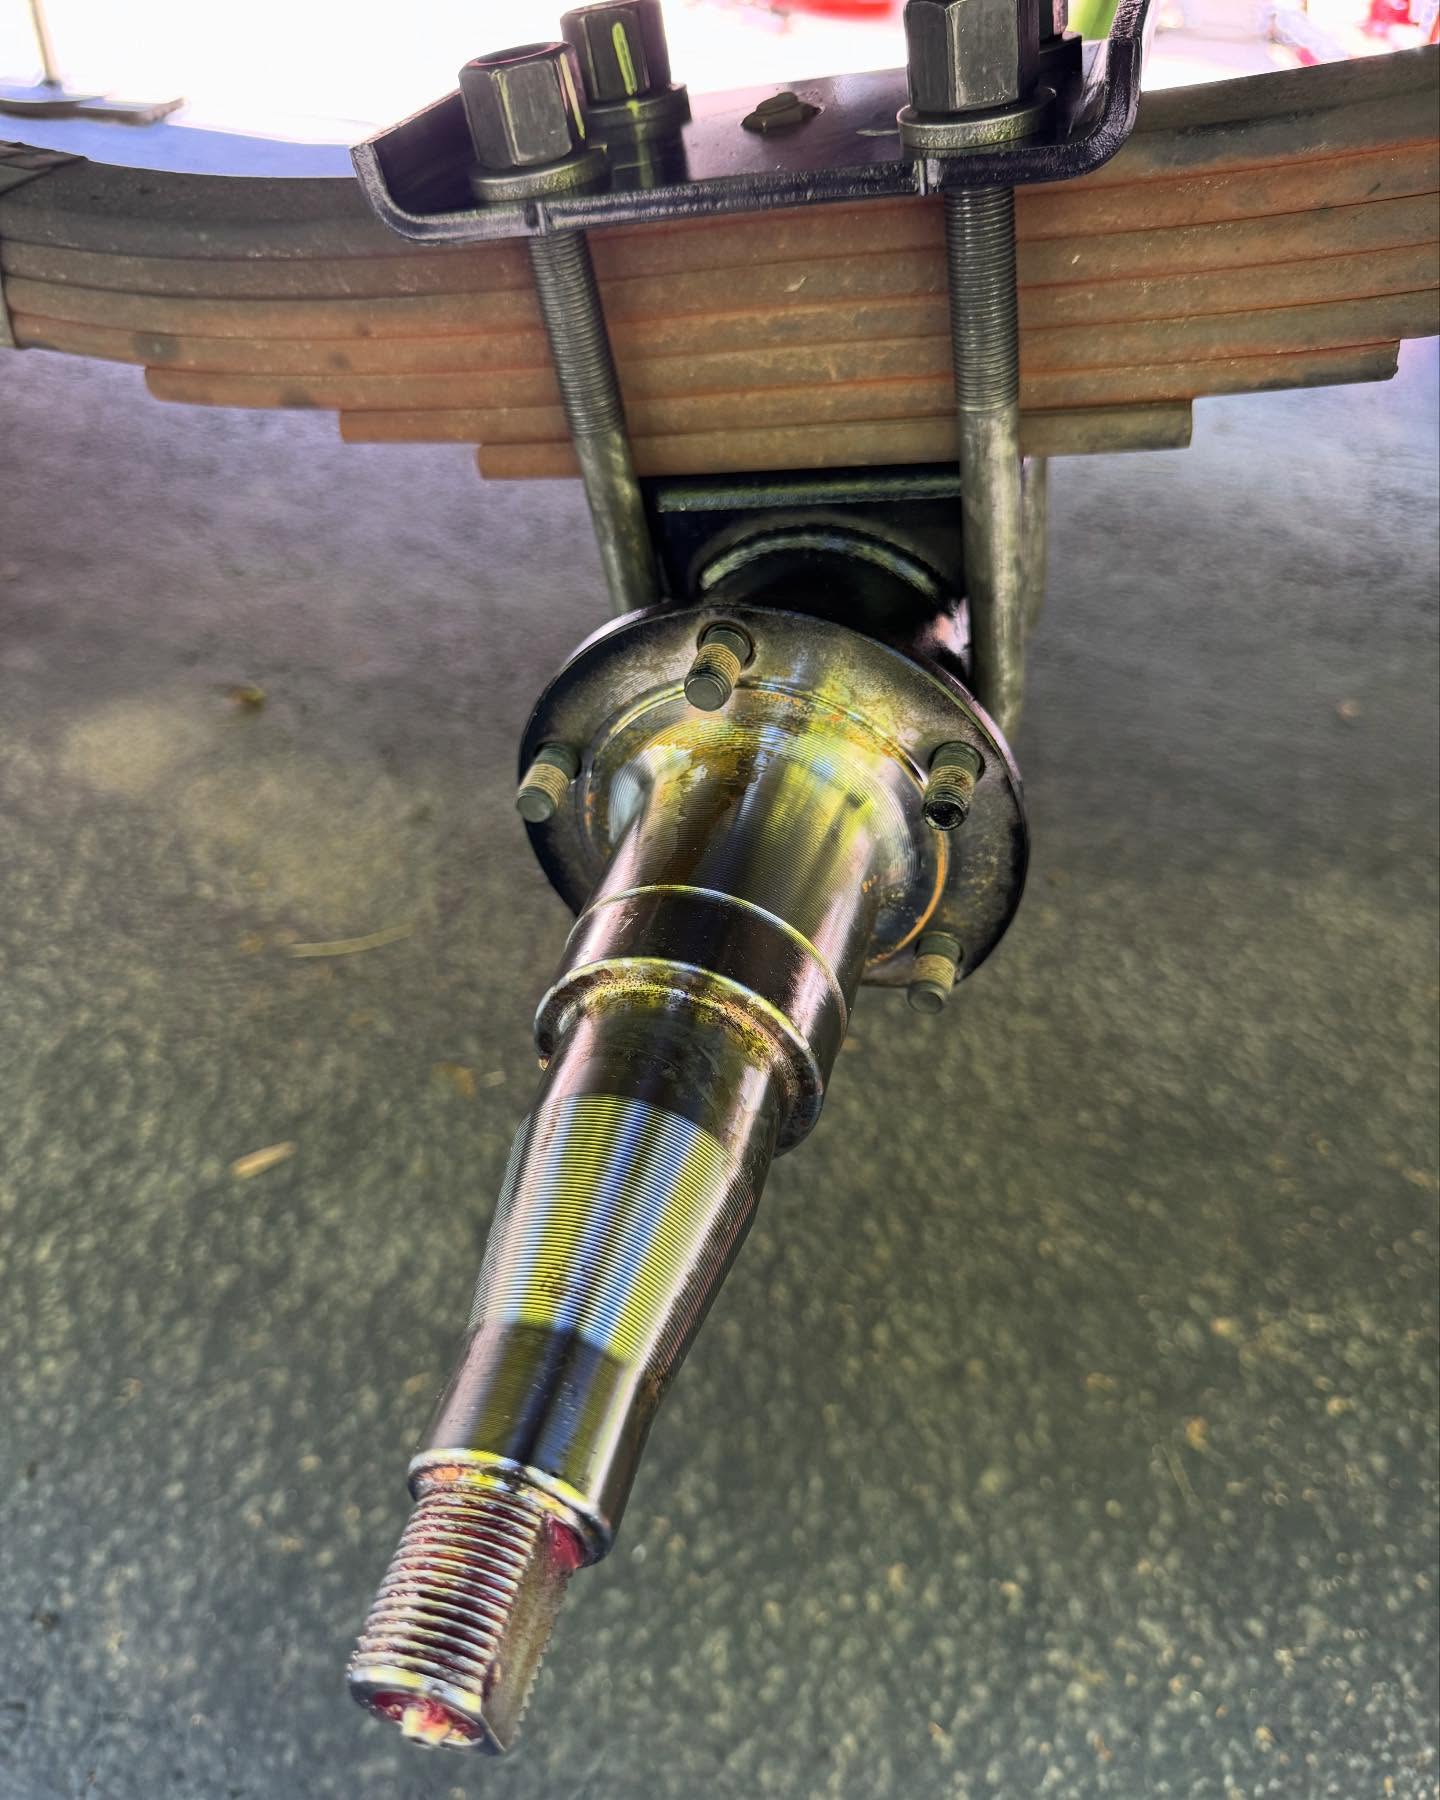
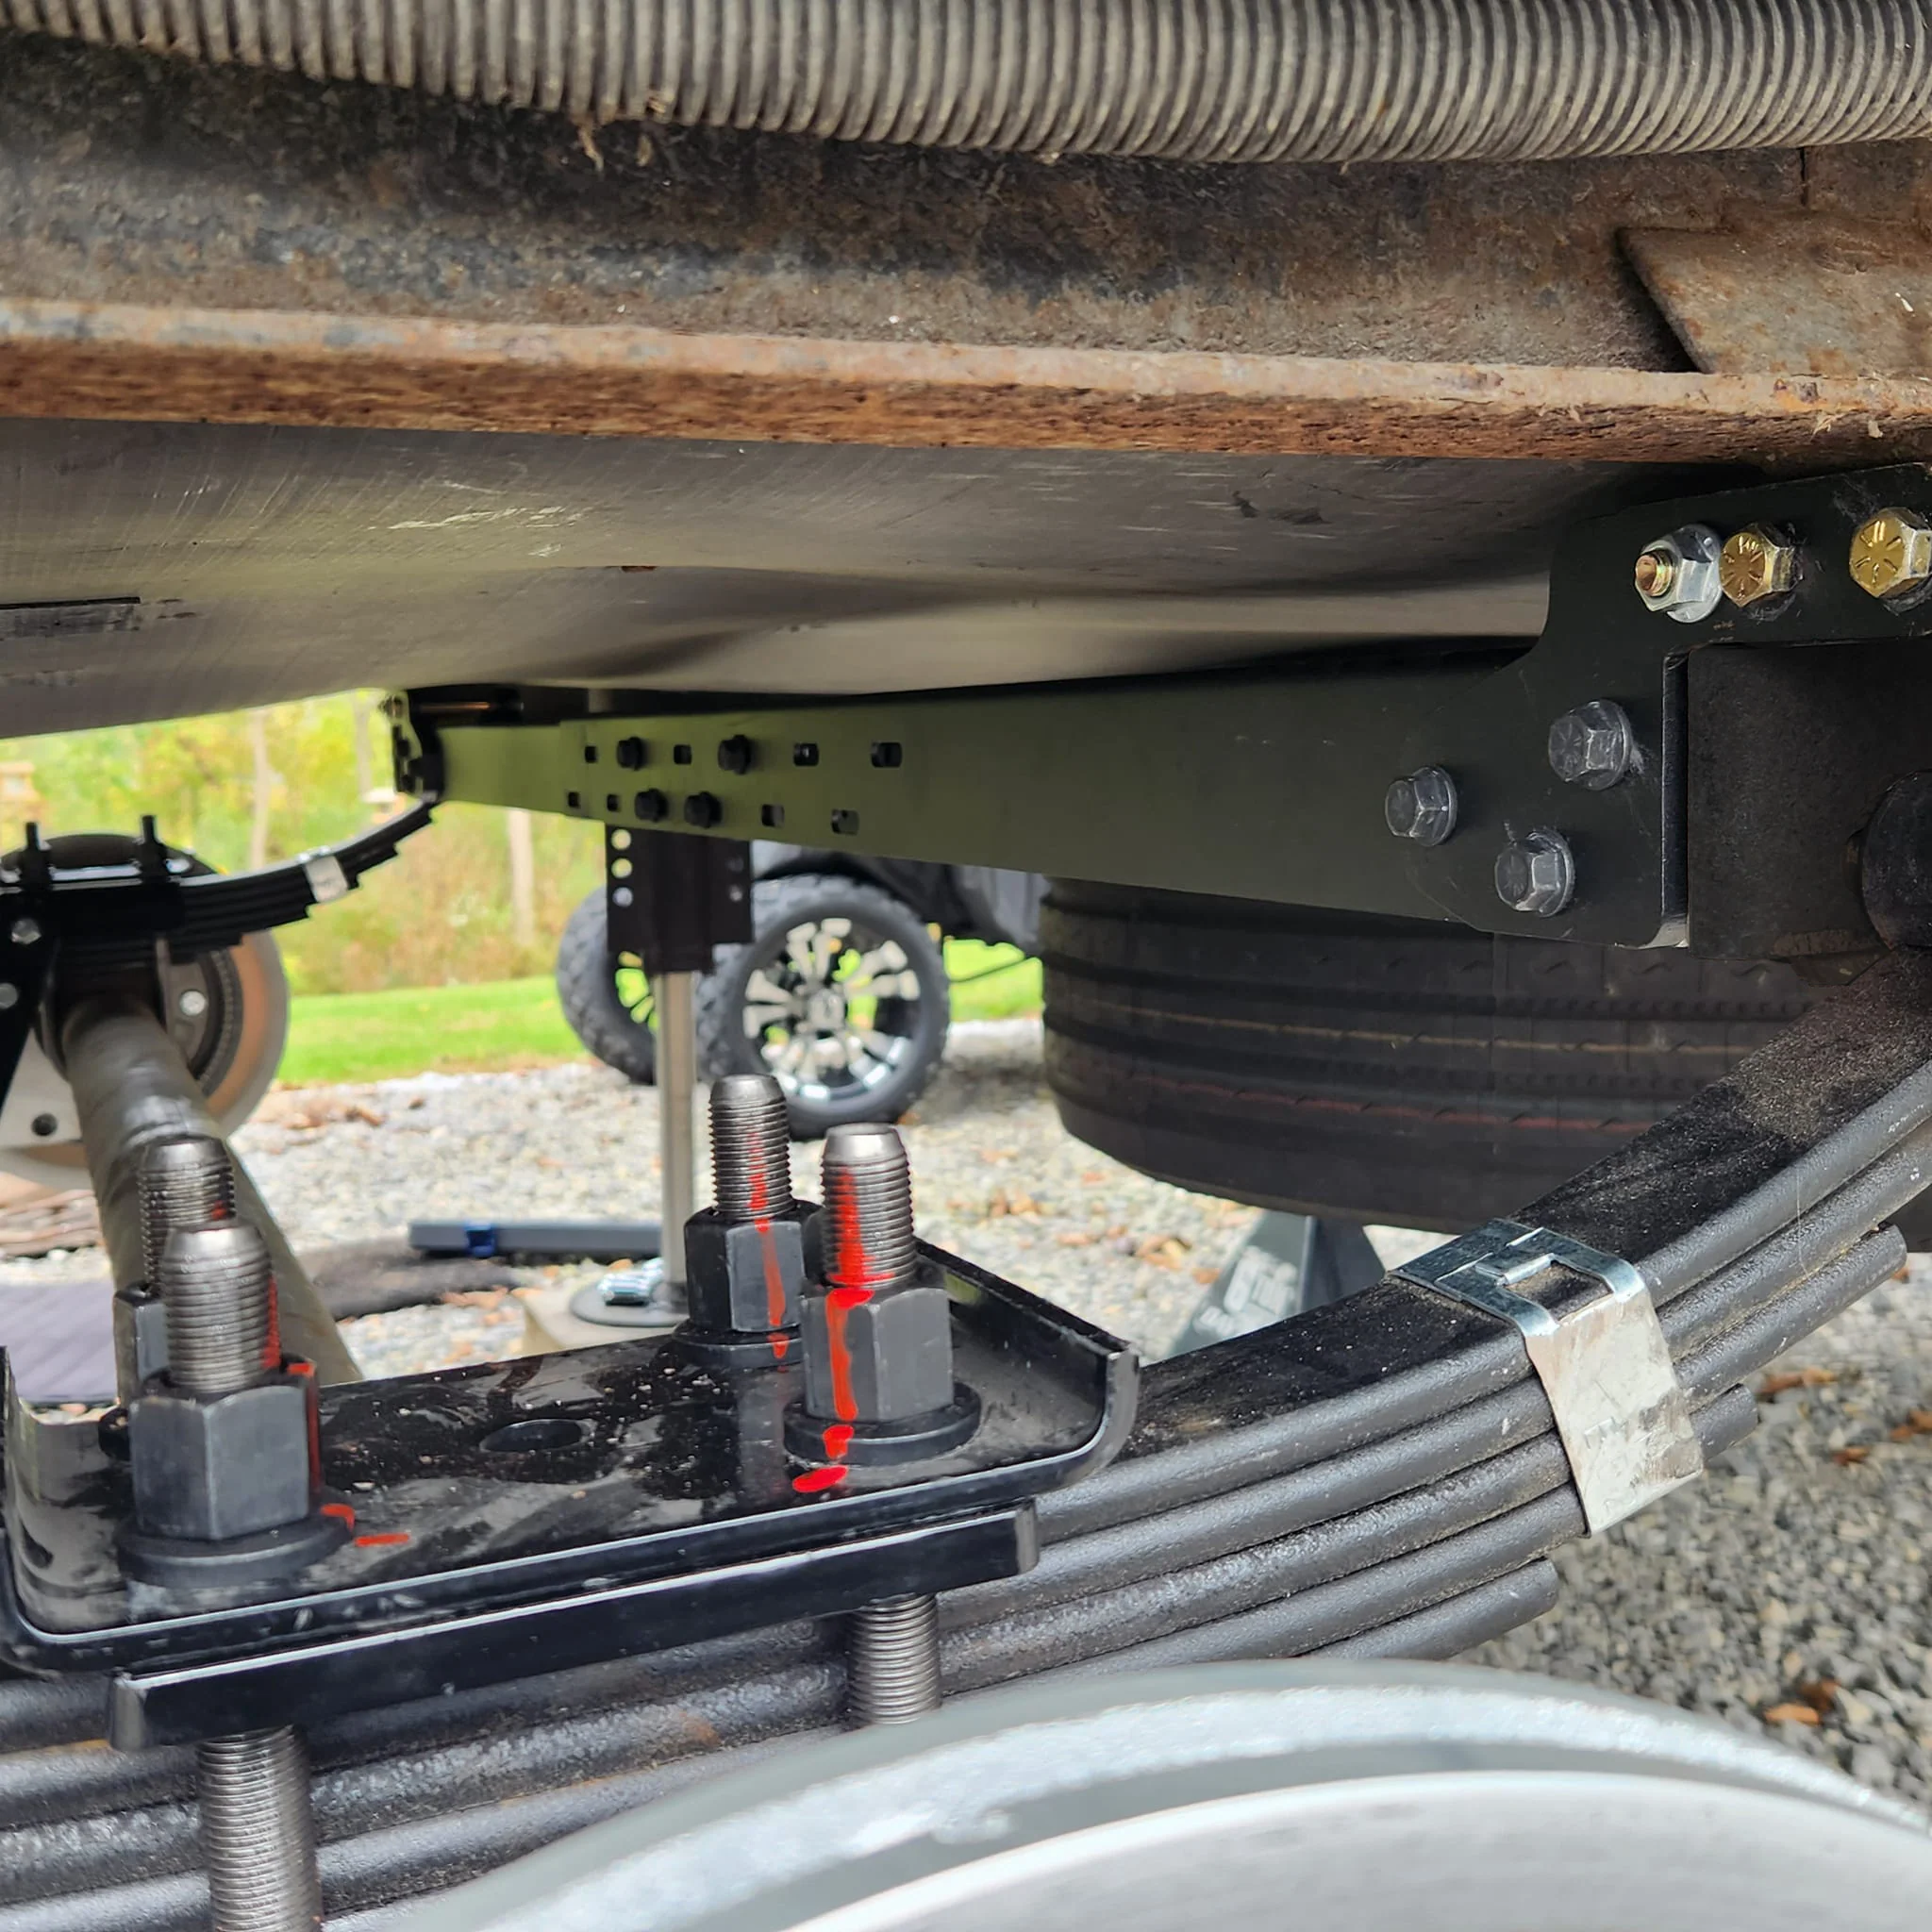
- Axle Tag– A clear photo showing the manufacturer (Dexter, Curt, or Lippert) and weight rating (5.2K–8K). You’ll find this tag under the RV, on the back of the axle.
- Underbelly– Photos of the underside so we can check for obstructions or unique build details.
- Spring Hanger Measurement– A photo with measurement helps us determine product fit, especially if your rig has shorter hangers.
- RV Info Sticker– Usually located near the door, this sticker confirms model details and weight ratings.
If you’re requesting a suspension upgrade, we’ll also need:
- Wheelbase– Measure center-to-center from one wheel hub to the other (typically 33” or 35”). Don’t worry if it’s slightly off. Most trailers are 35”, except smaller travel trailers.
- Correct Track– Check if your trailer has a yellow octagon on the spring hanger. If so, we’ll include an adaptor with your upgrade.
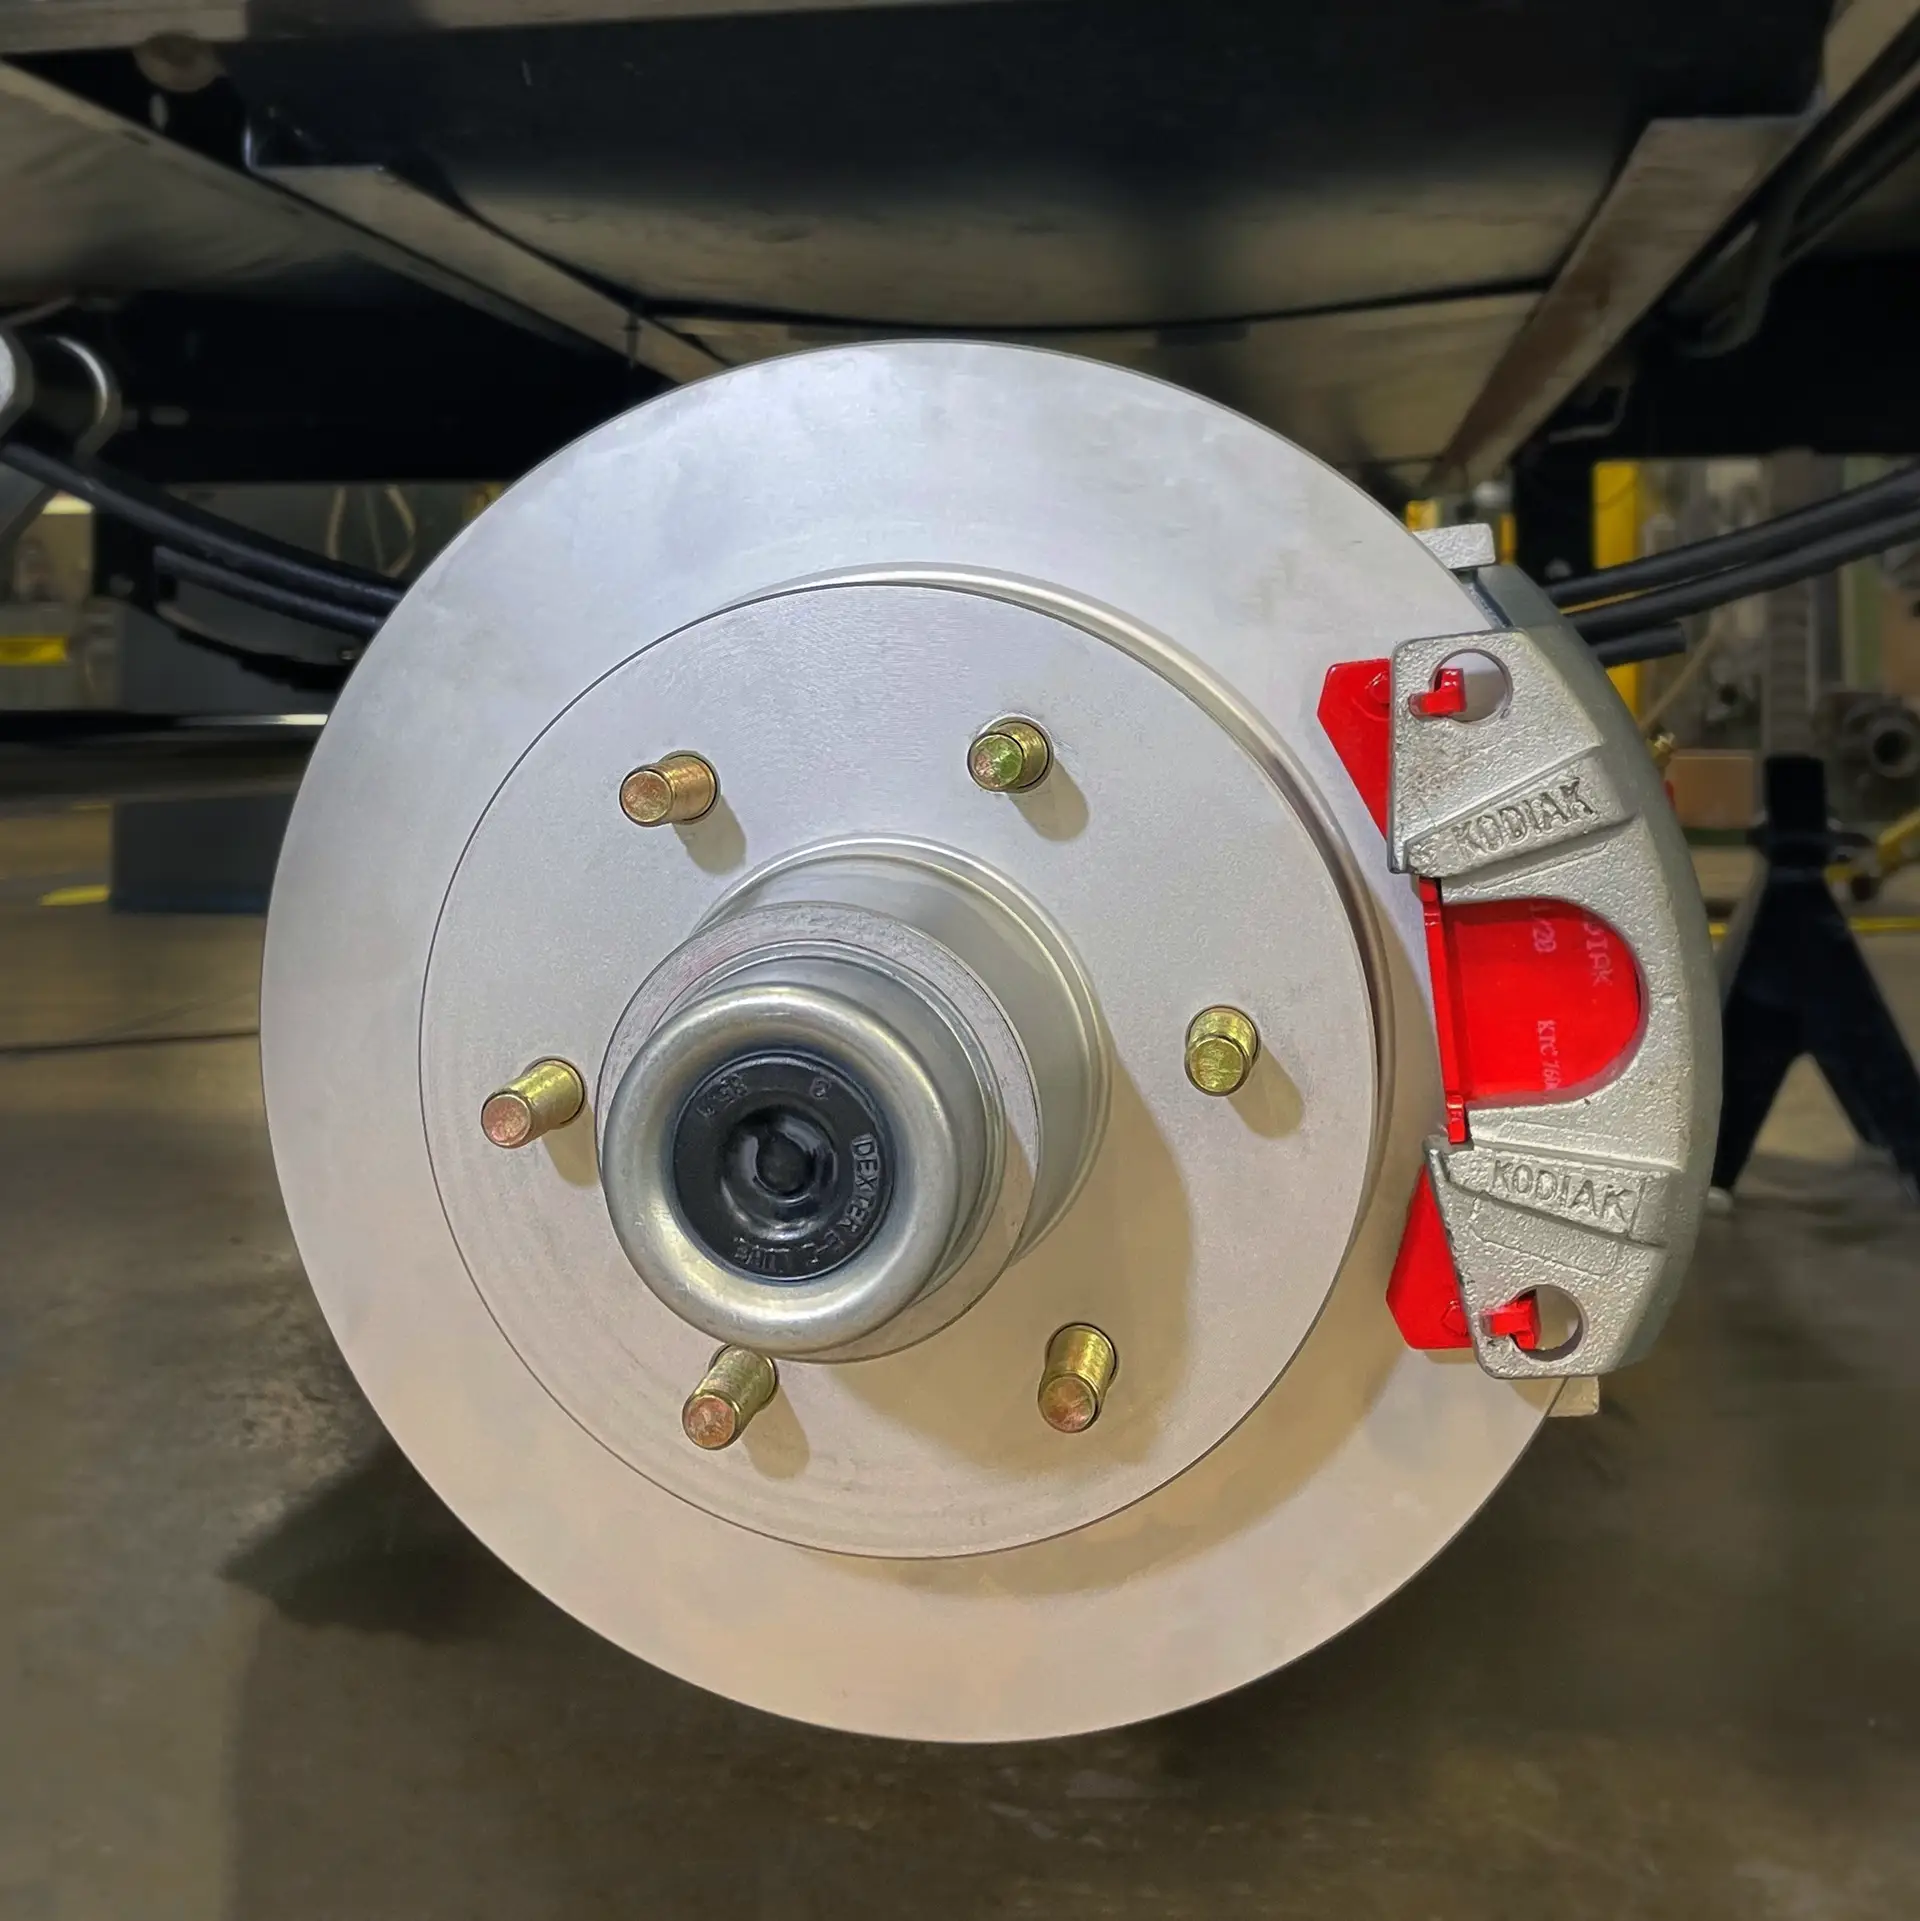
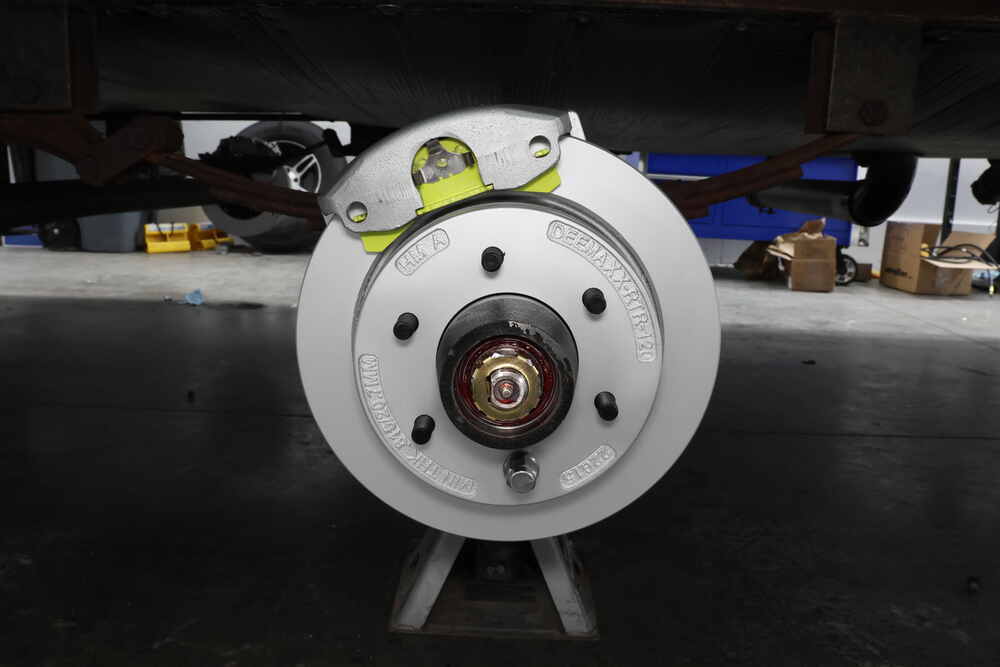
Looking for a Disc Brake Upgrade?
- Please share what truck you will be towing with. We will need to know the year/make/model
- Is the brake control integrated or after market?
With this information and your photos, we’ll make sure your order is accurate, the parts fit correctly, and your installation goes smoothly.
Quick Prep Checklist for RV Service
/01
Park Smart
Level ground, solid surface, and away from busy streets.
/02
Slides & Leveling
Prepare to have slides over wheels brought in during service. Please do not worry about retracting slides until tech arrives. Make sure the leveling system is unlocked.
/03
Clear the Area
Give the technician room to walk around your RV. Remove obstacles and be present at the start of service.
/04
Know the Schedule
Service times (especially at rallies) may shift with weather or repairs. You’ll get updates as the schedule moves along.
/05
Payment
Cash, Check, Zelle, Credit/Debit, or Venmo accepted. (3% fee on card & Venmo.) Payment due at completion.
/06
After Service
Re-torque lug nuts after 50 miles:
- ½” studs: 90–120 lb⋅ft
- 9/16” studs: 120–140 lb⋅ft
(Confirm with your technician.)
After Installation Completed
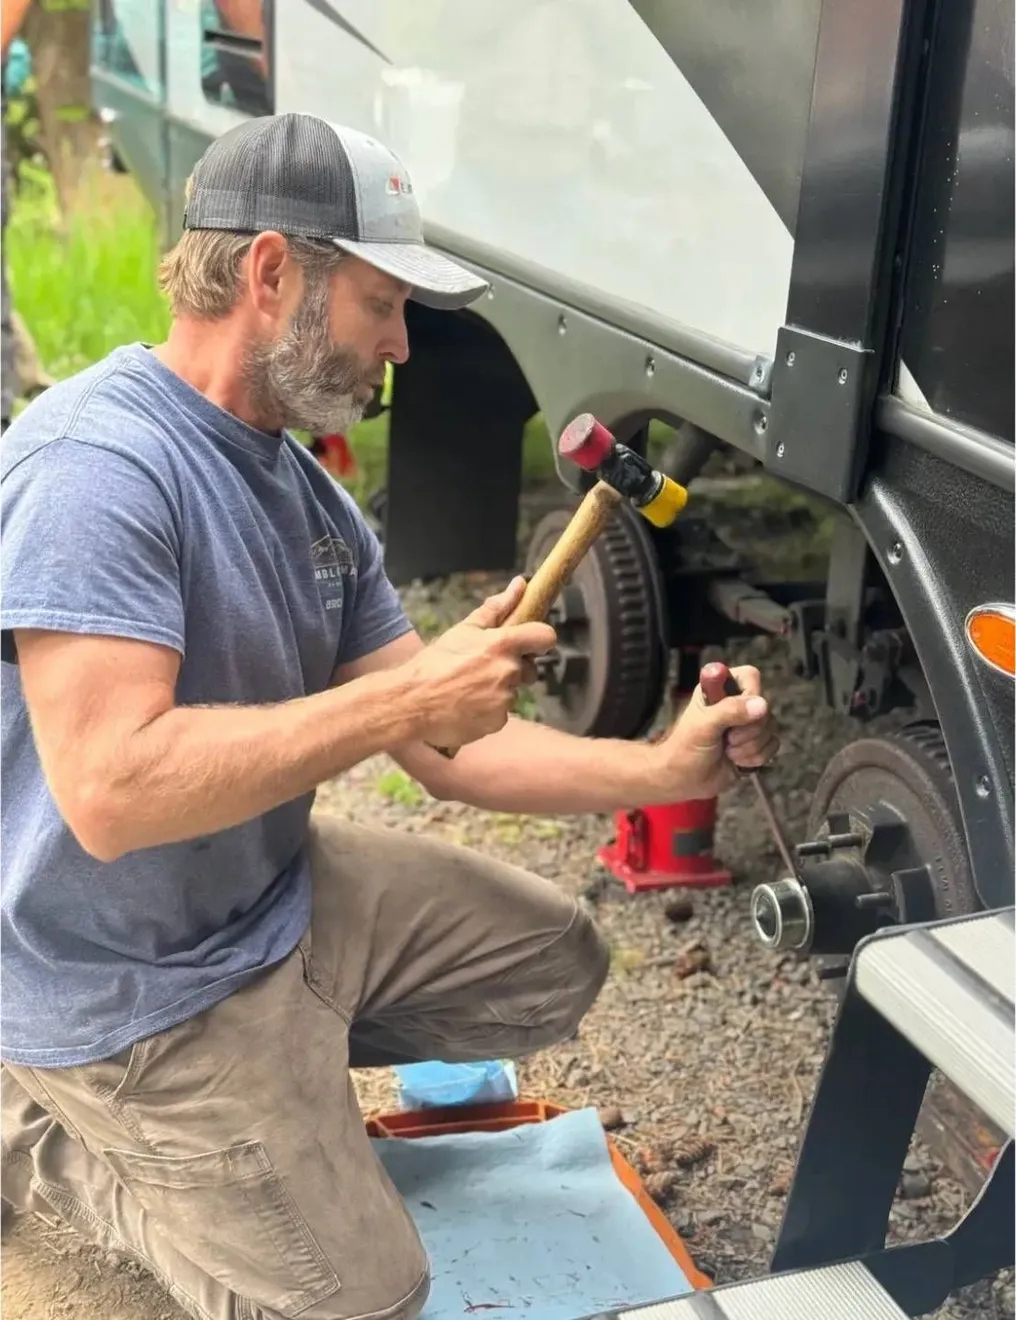
Lug Nut Retorque
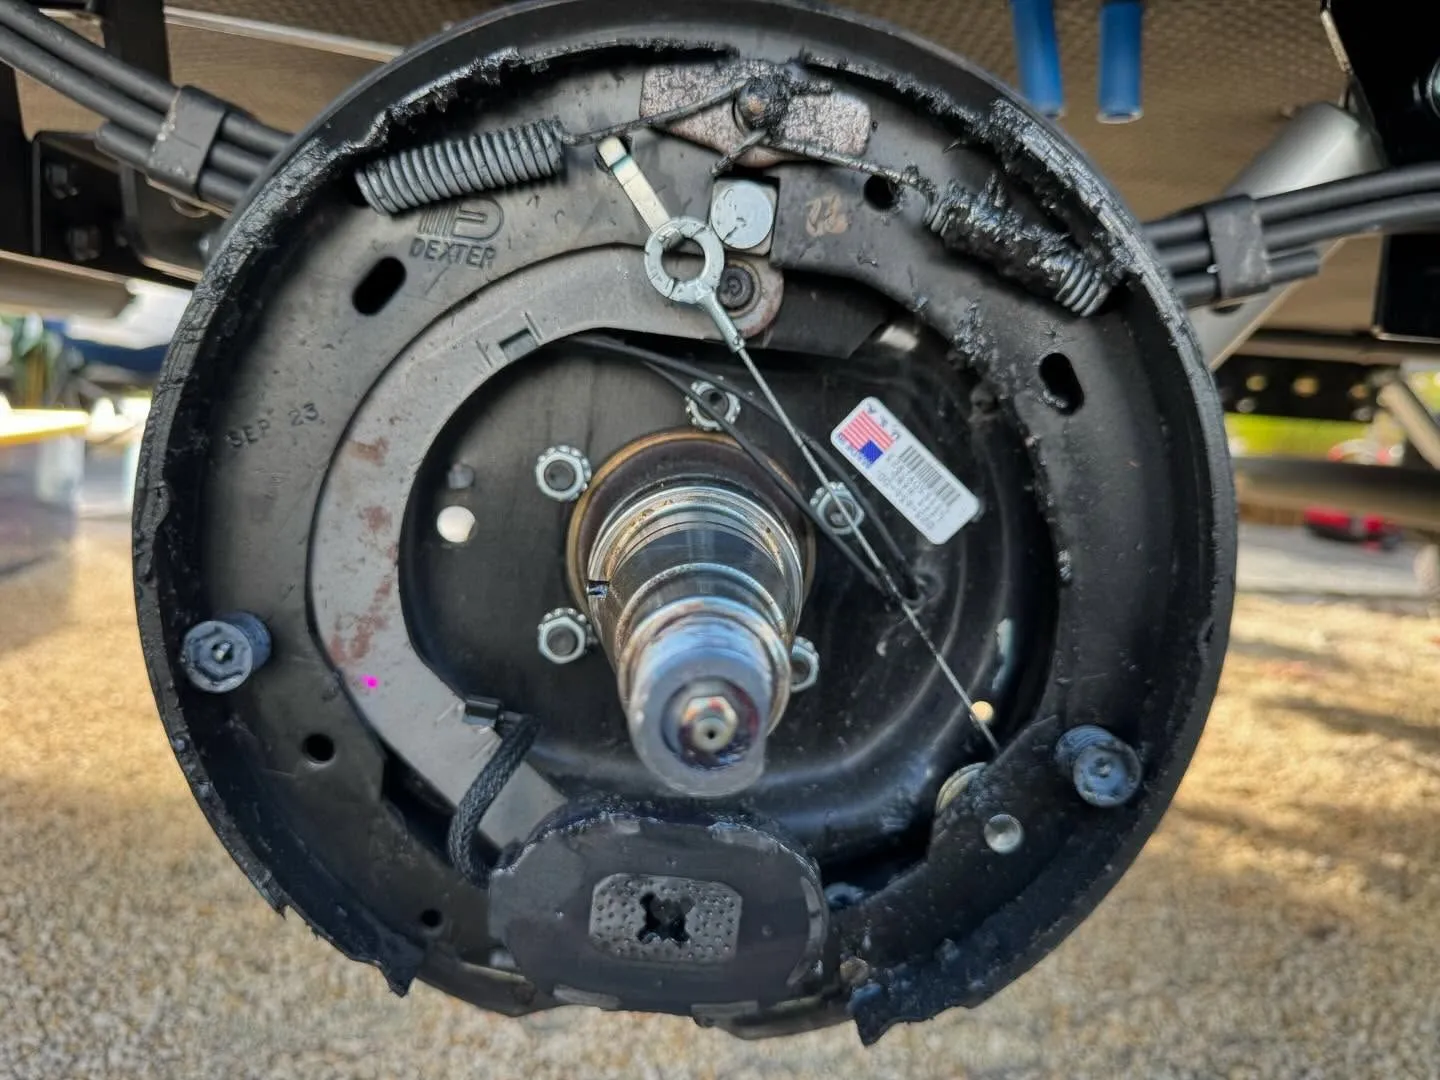
After any wheel removal or replacement, all trailers must have their lug nuts re-torqued after the first 50 miles of driving. Please confirm with your technician the correct torque specification for your specific trailer model and wheel type.
Test Drive
After disc brake upgrade installation, we’ll perform a short test drive with you to confirm everything is working as expected. This test drive should only take 15–20 minutes.
Break-In & Gain Setting Instructions
You’ll need an uninterrupted (or mostly uninterrupted) stretch of road about 5 miles long.
- Set your brake controller gain to 4.5 before starting.
- Perform 5 repetitions slowing from 35 →5 MPH with medium brake effort (like preparing to stop at a traffic light).
- Perform 5 repetitions slowing from 55 →5 MPH with heavy brake effort (like emergency braking without ABS).
✅ While performing the 55 → 5 repetitions:
- If the trailer pushes, increase the gain by 0.5.
- If the trailer pulls, decrease the gain by 0.5.
- Continue adjusting until your truck and trailer stop together as one unit, with neither working harder than the other.
Tips:
- If you need to stop, do so normally—shift into park and take your foot off the brake.
- If a repetition is interrupted, add 1–2 extras to complete the process.
Replacement Parts & Info
Brake Fluid
- DOT 4 brake fluid only
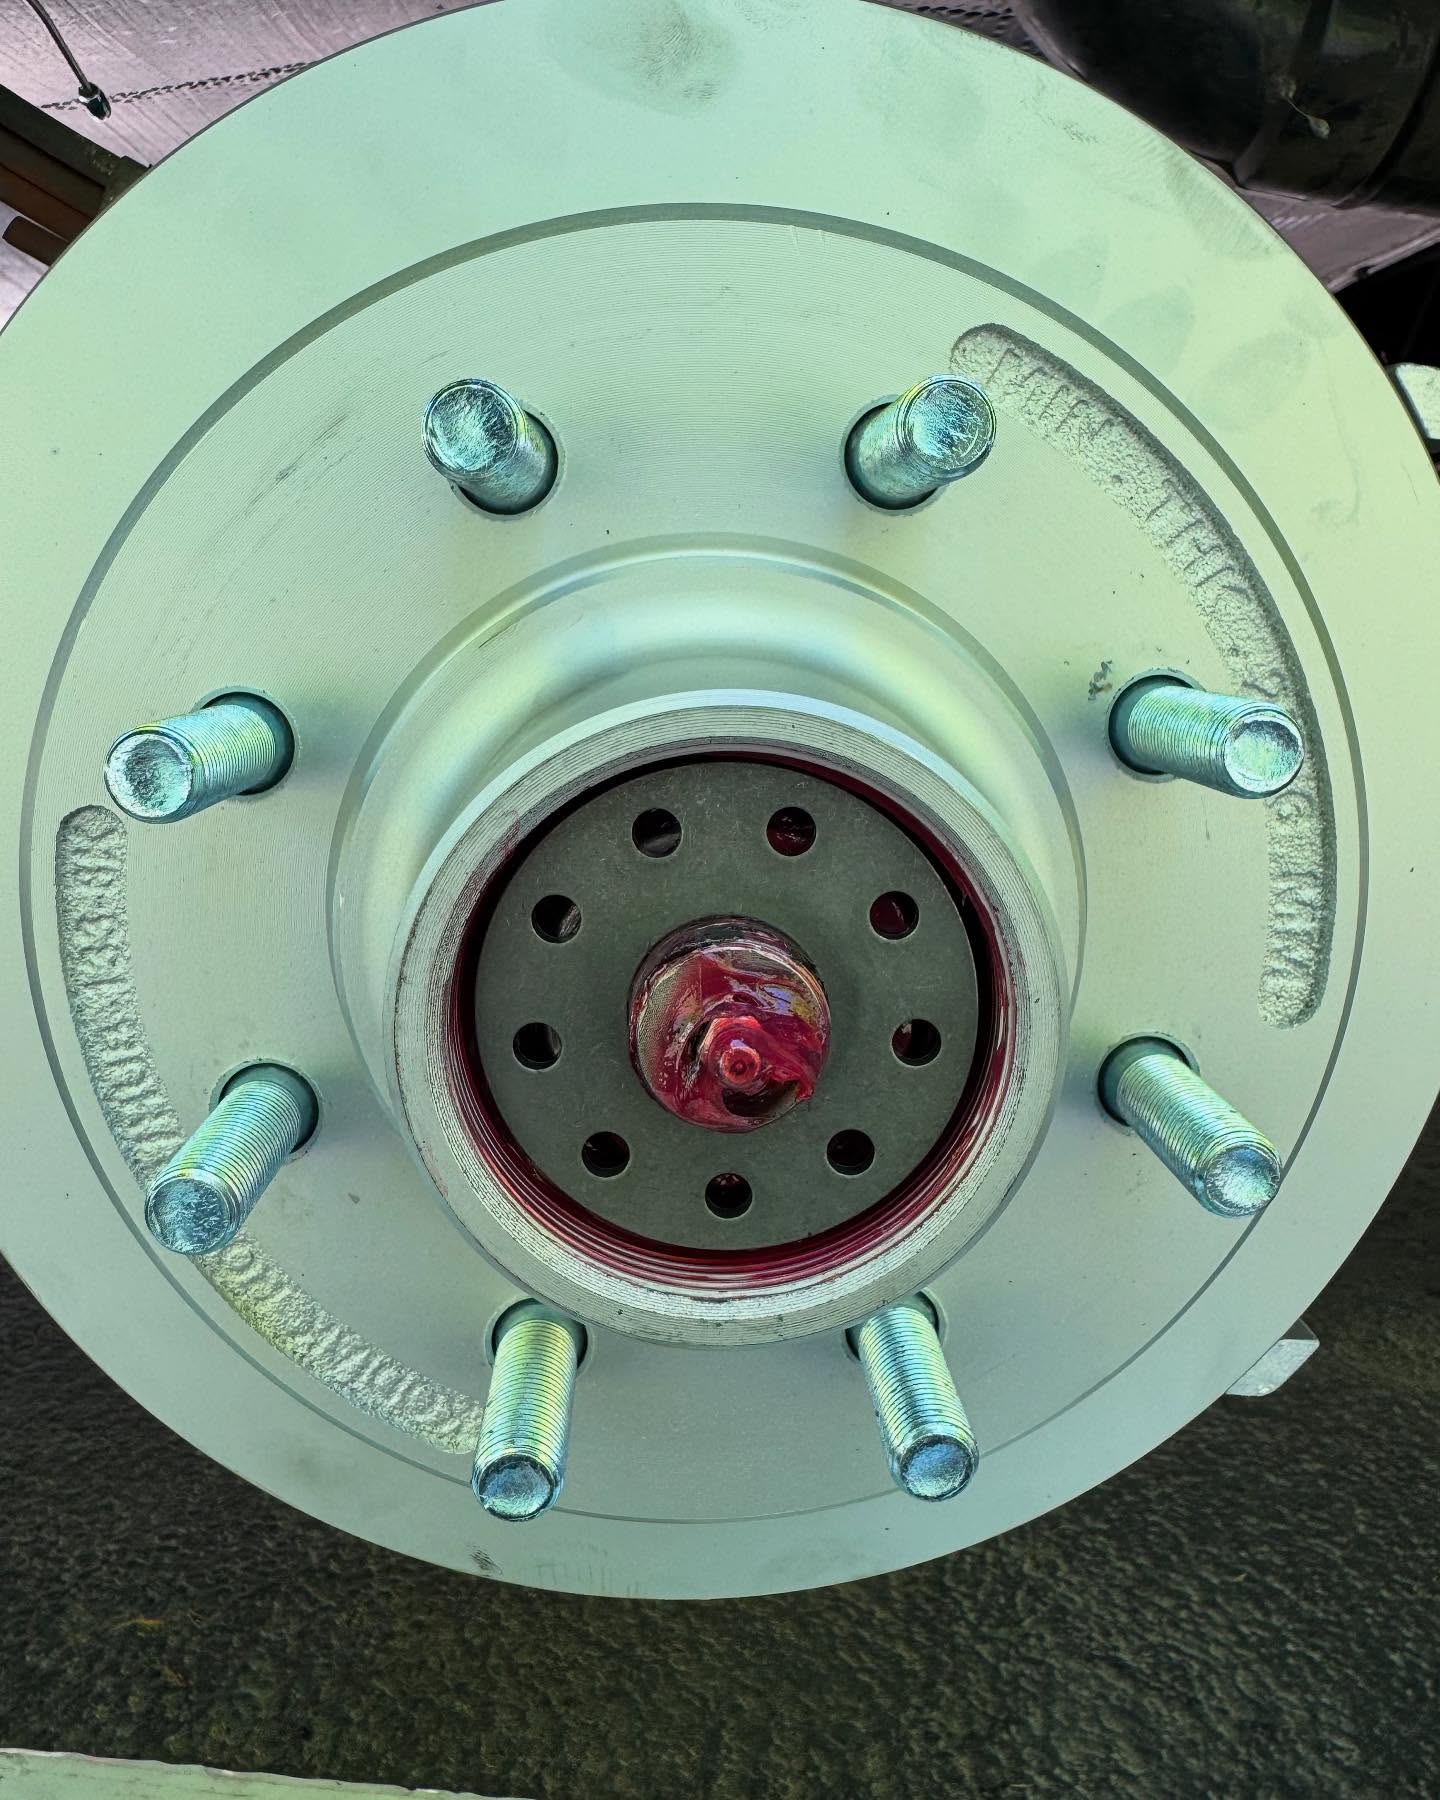
Bearings/Seals (Dexter Product Numbers)
- Inner Bearing: #25580
- Outer Bearing: #02745
- Seal: #010-036-000
Replacement Brake Pads
DeeMaxx Disc Brakes
- DeeMaxx – Part #CALP-7-8K-BRAKE-PAD →DeeMaxx Link
- E-Trailer – Part #DE78VR →etrailer Link
Kodiak Disc Brakes
- Dexter – Part #K71-DBC-250-PAD (Dexter website)
- Amazon – Bendix SBC215 (Preferred)
- Auto Parts Stores – Part #MD-215 (for 1987 Buick LeSabre)
Real Clients. Real Stories.
Hear what our incredible customers have to say!
We cannot say enough about Ramblin’ Man Repair They are responsive, educational, and all around fantastic people to work with. Brooke’s wealth of knowledge is a sure treat and he will answer every last question you may have. We would recommend them to anyone who needs any of the services that they provide! Thank you!!
G, Geno
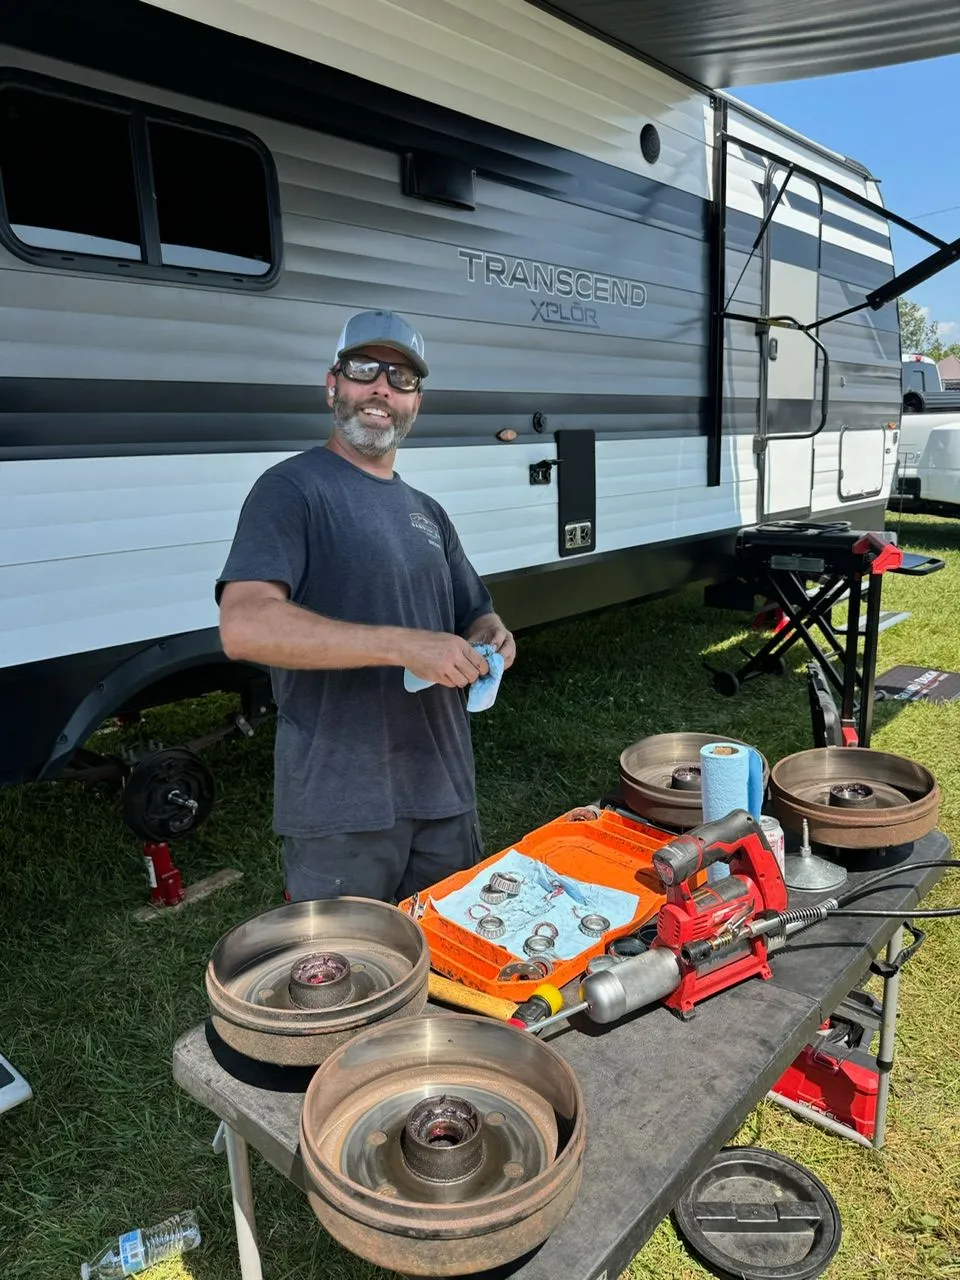
Excellent knowledge and service. I had Brooke repack my bearings at a rally and he discovered and fixed a couple of more pressing issues that he found at the same time. Highly recommended and I’d definitely use him again. He and his family are great people!
C, John
Ramblin' Man Repair did an excellent job repacking the bearings on my DRV Fullhouse MX450. They were very thorough and I would highly recommend them.
H, Chad
I have been involved with auto/aircraft/rv maintenance and techs for most of my adult life. I can say with absolute certainty that Brooke is one of the most organized, professional and skilled individuals I have met. The installation of the disc brake conversion was text book perfect, on time, on estimate and the results were beyond expectations. I highly commend, recommend and thank Brooke for his work! Dave Leonard 2015 GD Momentum 348M
L, Dave
We are very pleased with the suspension work performed on our travel trailer. Brooke was very patient in answering questions during the installation and also provided training to ensure proper ongoing maintenance. Brooke and Emma work great together in scheduling and performing the work. Great team, we highly recommend to anyone needing suspension work!
H, Bobby
Brooke and Emma were wonderful to work with! Both of them are veterans that served our country and now they are taking excellent care of the RV community. Thank you Brooke for your attention to detail, your willingness to explain things to me and your outstanding work. Thank you Emma for being patient with me on the phone and always answering my texts and emails. You two are a great team.